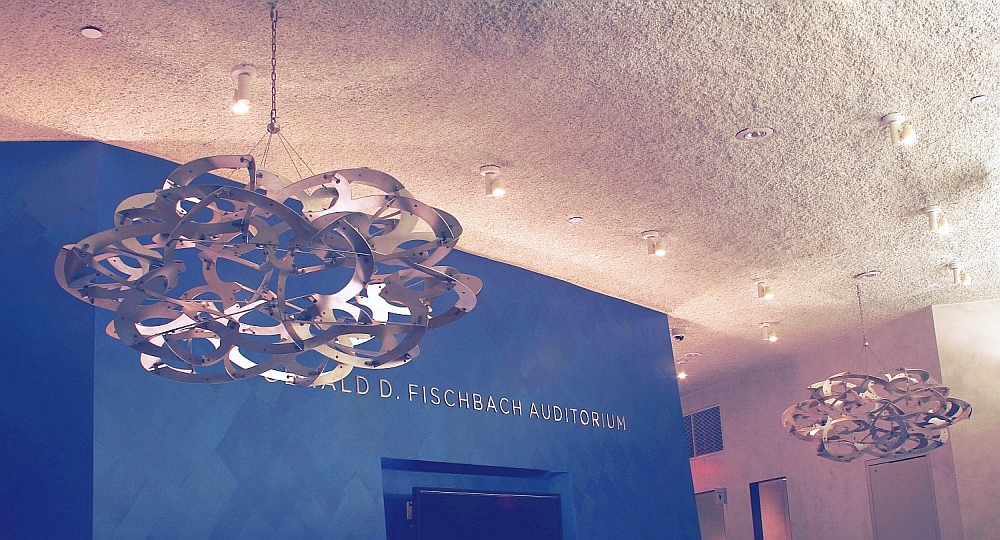
It's hard to capture
the effect of the sculpture in a still photograph.
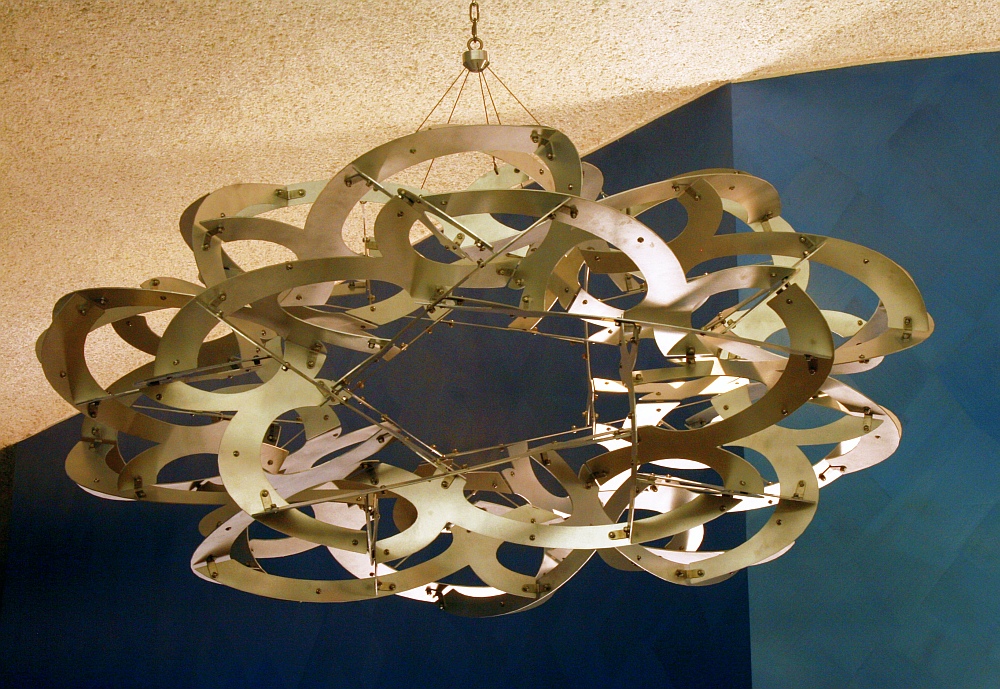
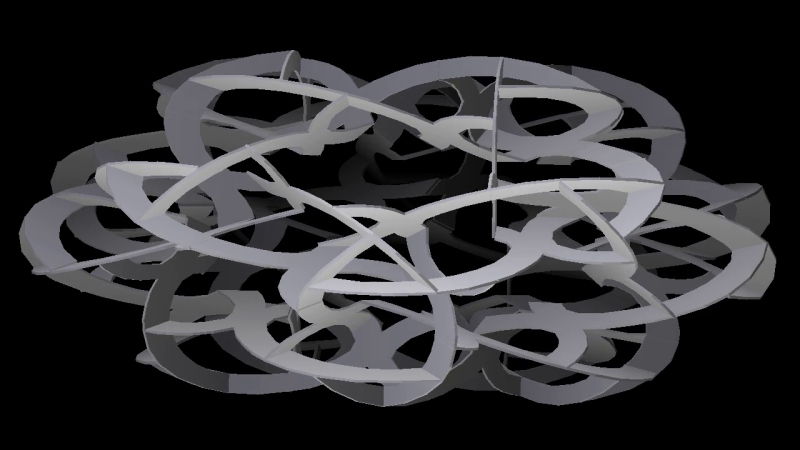
Although they are metal, they feel like they float lightly in
the air. From some positions, one is struck by geometric
details, such as their six five-sided tunnels, one of which is
emphasized in the image above. But from other positions,
they give the impression of a 3D version of a scribbled drawing
of an amorphous cloud.
My design process is centered on
computer models, which I edit repeatedly until I'm happy with
all aspects of the design. I write my own custom software
for this, as existing 3D design packages don't have the
mathematical features I want.
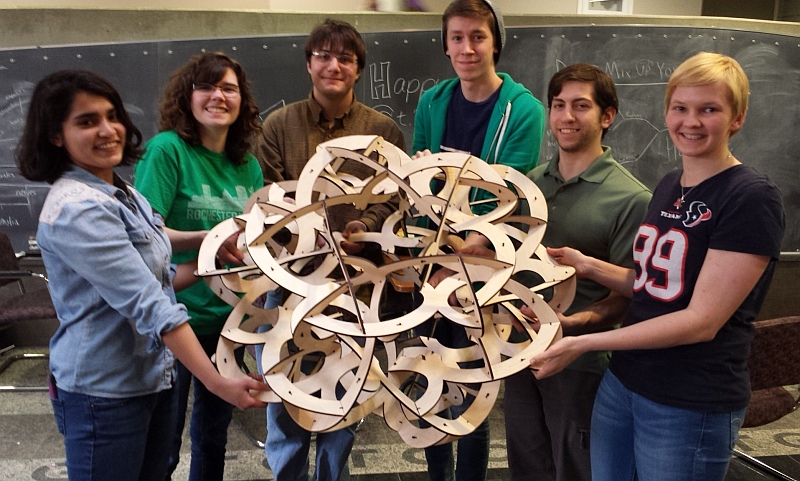
For this design, the next step was
to make a small-scale model from laser-cut plywood. I led
a group of students in this construction while visiting the
Rochester Institute of Technology. You can see the parts are
held together with small cable ties. Cable ties are great for
this because they're strong, easy to connect, and adapt to any
dihedral angle between the planes.
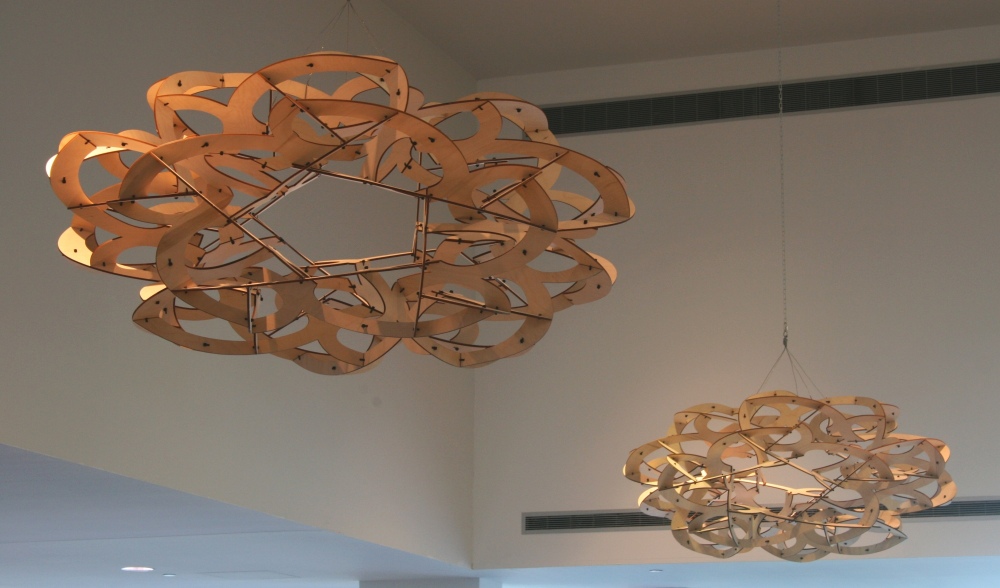
The next stage was to make a
full-scale wood version of both mirror-image orbs, each five
feet in diameter. These are currently on display in the
Wang Center at Stony Brook University. You need to look
carefully to observe that they make up a matched left-handed and
right-handed pair.
These are also
assembled with cable ties in a student workshop, in this case as
part of a summer math program at Stony Brook University.
This allowed me to practice the assembly sequence and work out
the best way to partition the structure into smaller modules.
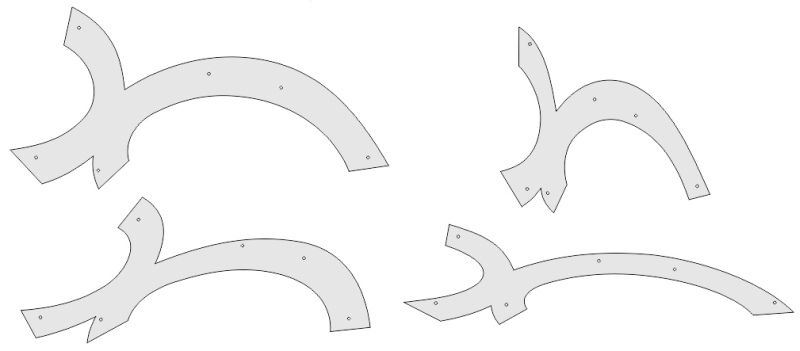
Finally, I prepared the metal parts.
They are laser-cut from aircraft aluminum in the four
different shapes shown above. The four variations are
related by affine transformations (stretching and compression
in various directions) as a result of the way the overall form
is derived. I also had to engineer the 360 brackets that
connect the pieces and work out the best locations for the
bolt holes.

Before the day of the assembly, I attached one
side of all the brackets and connected the support cabling to
the upper pieces. The brackets had been pre-bent to
seven different angles in order to account for the various
dihedral angles between the planes. In addition to
keeping track of which bracket goes where, one must also
remember that the bracket attaches to one side or the other of
a piece depending on whether it is for the left-handed or
right-handed orb.
I invited some friends to help and we spent
much of a day assembling everything. The first step is
to make three-part modules, joining everything with stainless
steel nuts and bolts. The nuts have nylon inserts so
they'll never loosen, but that makes them extra troublesome to
put on. (They're sometimes called "aircraft nuts"
because they were invented to solve the problem of keeping
airplanes from falling apart from vibration.)
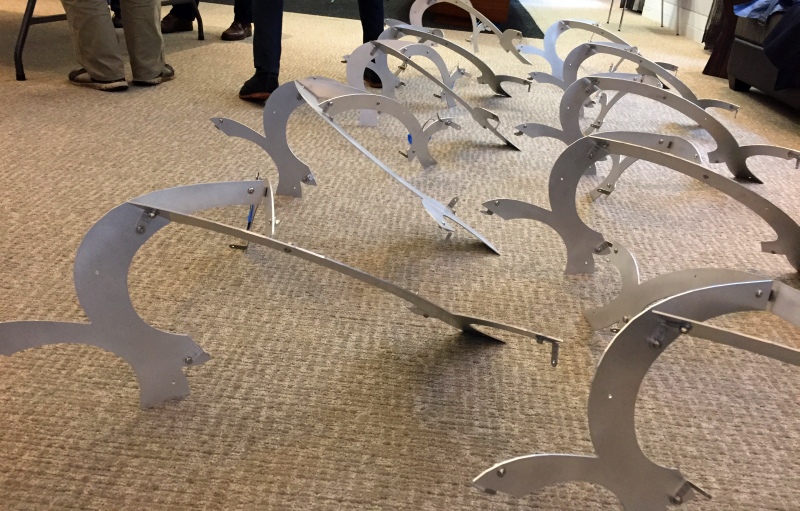
We make twenty of the three-part modules, as there
are sixty pieces for each orb. We also need to keep
track of the fact that there are two types (affinely related)
of module. The ones near the North and South poles are
different from the ones near the equator.
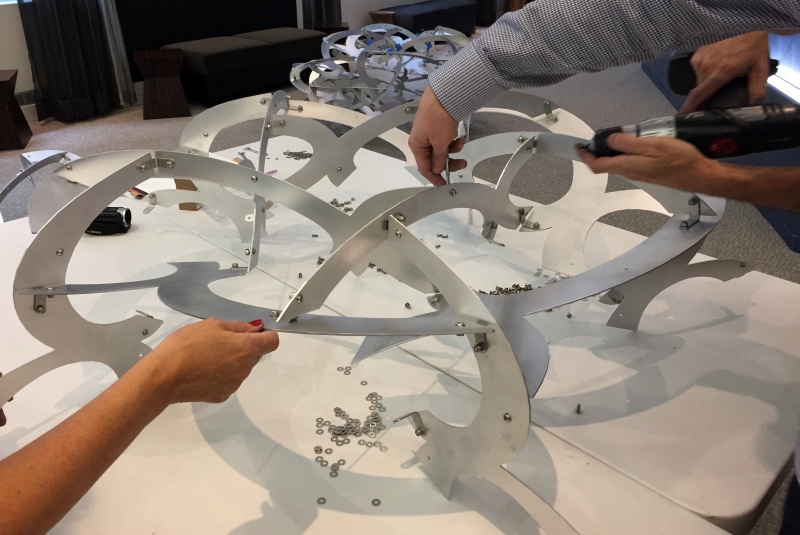
The sculpture begins to take form as we
connect the modules together. It is a wonderful feeling
to experience how everything fits together perfectly.
One advantage of laser-cutting is that it is accurate to
better than a hundredth of an inch.
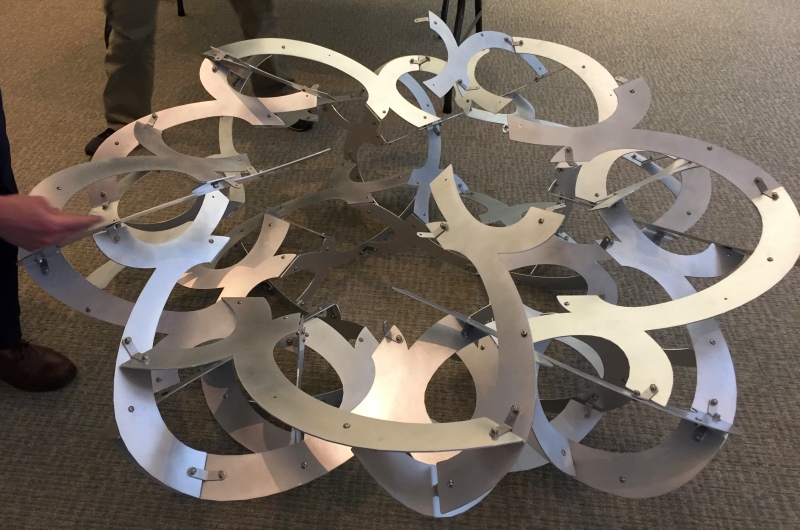
For the later stages, we can work on the
floor, approaching it from all around as we continue to add
modules. Checking for loose nuts and getting everything
tight takes a while, because all together there are 720 nuts,
720 bolts, and 1440 washers to take care of.
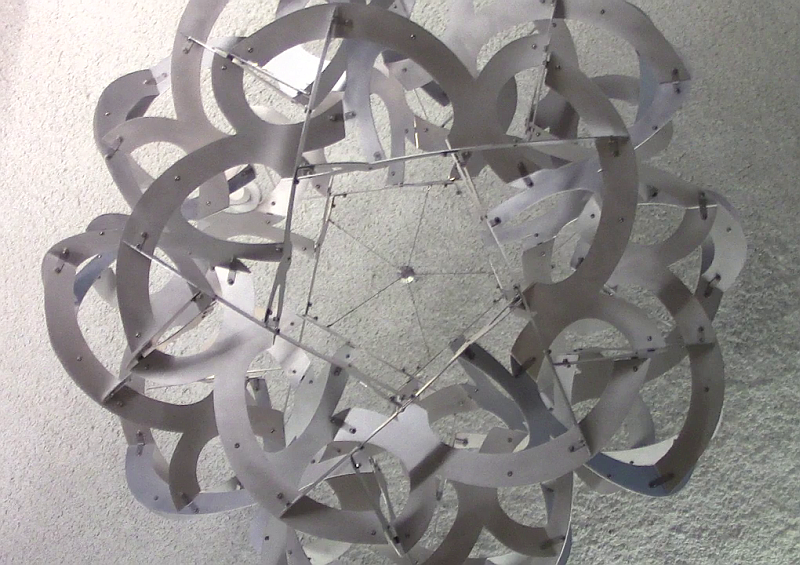
Finally the two orbs are complete!
Hanging them was then relatively quick, as eye-bolts had been
installed in the ceiling ahead of time. Here's a view
from the floor, looking straight up, emphasizing the five-fold
rotational symmetry of the design. I'm quite proud of
the way Clouds came out.
This
video gives more information about the design and
construction process.
And you might also enjoy the rotating animation in this earlier
video.
Thank you to many people who helped me along the way, including
assembly helpers Rod Bogart, Asaka Rieser (who also took some of
the above photos), Ann Schwartz, and Jade Vinson, and many
students at Stony Brook and RIT who worked with me to build the
wood prototypes. Thank you Jamie Swan for machining the two cable
supports. Thank you Monika Lenard and Andrew Choi for
excellent local arrangements. And Thank you to the Simons
Foundation for commissioning this sculpture.
